Monday, September 24, 2018

Tiny Balls

   Crochet!  Yea!  I really enjoy crocheting.  It is where I started but I won't too into that as I'm going to do an origin story for crochet next month since it's my birthday that seems appropriate as it will be longer than the other origin stories I have done.
    For this post I'm going to share a crazy project that I just finished a couple of weeks ago.  I get Crochet! Magazine in the mail.  The front cover of the Autumn 2018 issue caught my eye.

I really wanted the sweater on the front.  I loved how many colors it was.  I turned to the pattern and learned that the yarn called for is 100% acrylic.  I am allergic to acrylic, so I will just substitute wool.  I did the math and figured out how many balls of Knit Picks Wool of the Andes worsted I would need; just over 22.
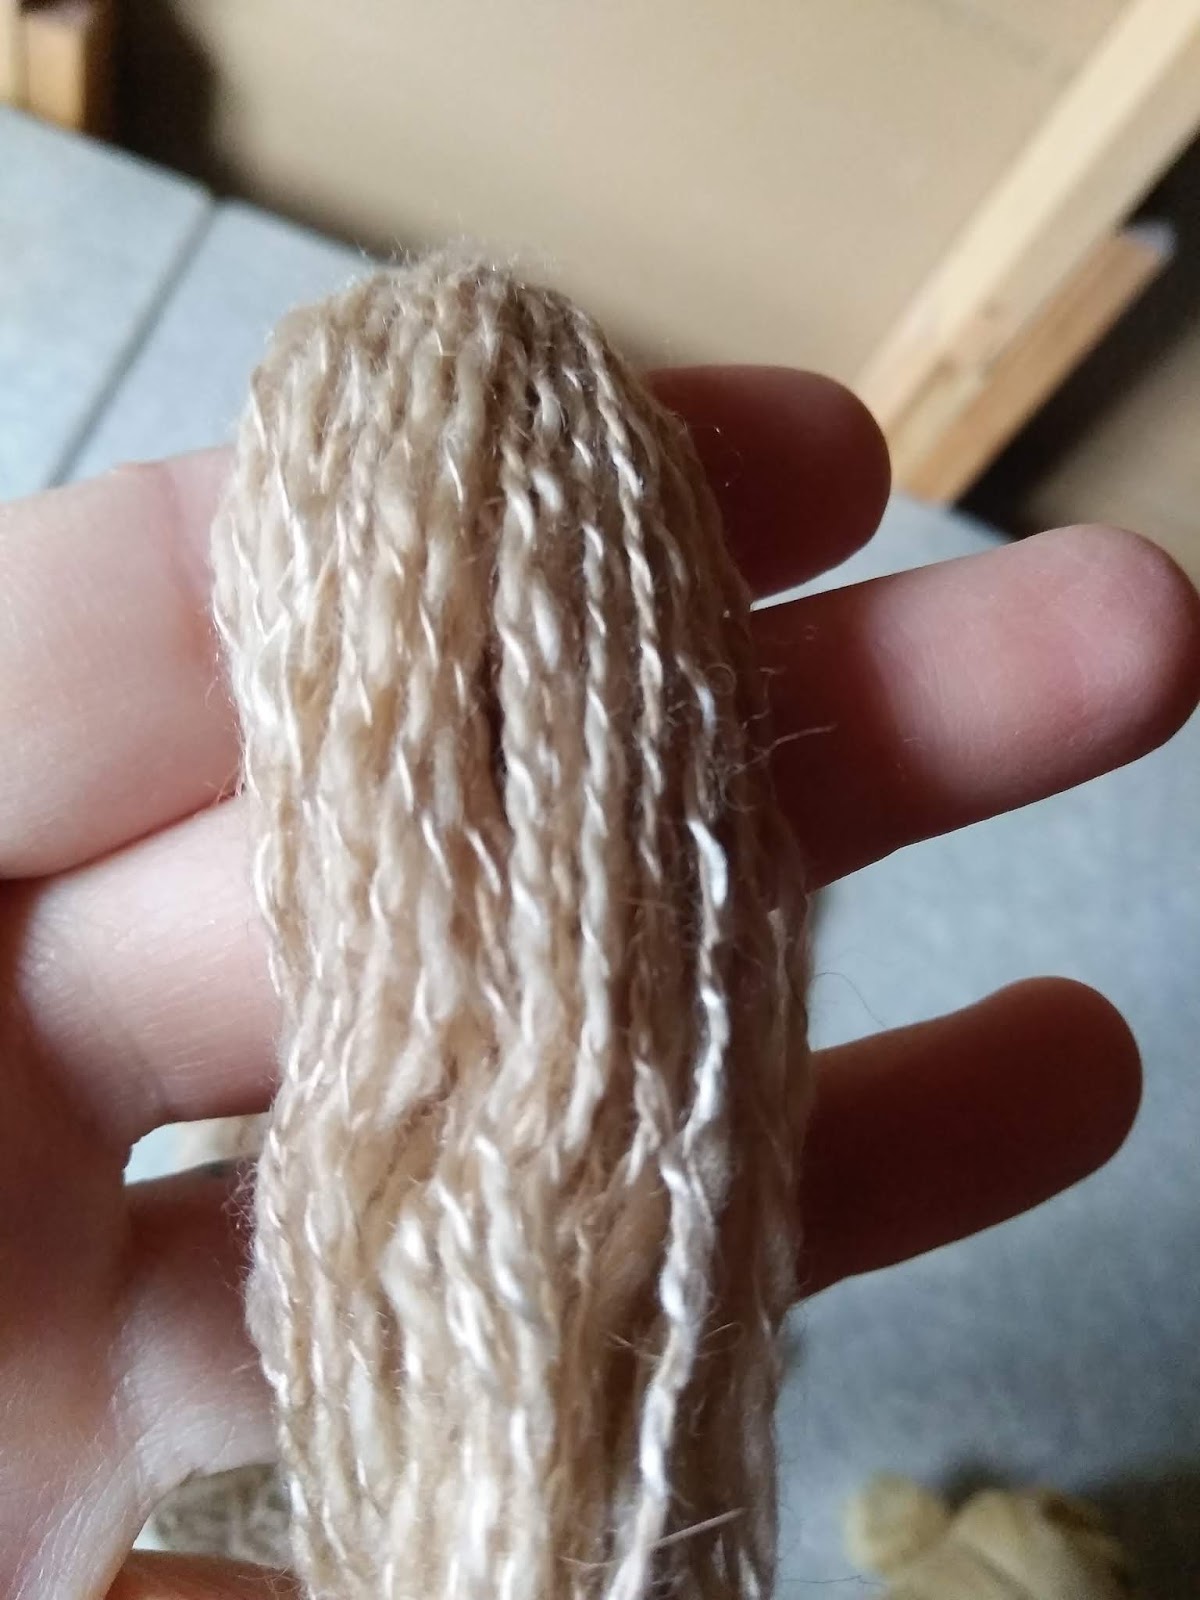
    I looked at the directions to see how they changed colors only to learn that the yarn changes itself, it is a self striping yarn.  Oy, now what?  So I decided to order 23 different colors.  I ordered the first 23 colors that were on sale that day and different enough from each other.  They came, I swatched, did some math and decided that a ball of about 9 yds would do one row of the body, nice.


    I then commenced making the balls.  I set up 2 chairs in the basement about 18 feet apart and took a walk, 9 times for each of the 23 balls of yarn.  That adds up to about a mile and a half for all 23 balls.  I had a dowel taped to the back of each chair and that's where the yarn rested until I was finished walking that ball.  Once finished, I cut the strands at the end where I started my walk and made small hanks that contained 12, 9 yard strands.  I wound the strands into balls.  After I took a picture of all the tiny balls I divided them into different baggies for each part of the sweater.  Based on my math there was going to be quite a bit left...  Hmmm...


    I started this project the first day of my Summer Break.  Something new I did this year.  I took a week off to work on only what I wanted to, not dishcloths or commission work or designs, unless I wanted to.  My wonderful husband even decided that he would cook and clean.  All I had to do was drive the children to and from the bus stop.  Nice and thank you.  It was great week and I will be doing this again for sure, maybe even multiple times a year.
    I started this sweater at the library in Byers.  It was taking more balls for each row than it should have and I hadn't even finished the increasing in the yoke.  What was going on?  I looked back to the directions and how many stitches are in each body row, oh...
    The way this pattern is written it says at the end of each row you will have X number of double crochets, ok great, except that's only half the stitches in a row, as there is a single crochet for each double crochet.  So I had based my math on the double crochet number.  Ok, here we go.  The yarn is already prepared, why go back now?  I knew there was going to be a lot of spit and splice, that was one reason I went for so many color changes to begin with, no ends, but this much spit and splice?  I wasn't really excited, but what else was I going to do with the yarn and I really wanted the sweater... Errr....
    I pressed on, working on it each night, starting each night by splicing 6 balls together.  I would have to do this a few more times depending on how long I worked.  The good news, one ball would go around the sleeve, yea!  As I came to the end of the yoke increases I tried the sweater on and didn't have to go as far as I originally thought.  I made the extra large size.  I followed the directions for number of rows and didn't measure as I went.  Because I used yarn that is 100% wool I knew blocking would have to happen.  Acrylic weighs about a third more than wool and therefore in the original design the sweater pulls itself down.  Mine did not.  Below you can see a couple of pictures before blocking.

    I blocked it loosely using the measurements in the schematic and how open the stitch pattern should be looking at the pictures in the magazine.  Link to the finished piece and more details.


I am pleased with the finished sweater.  It was a difficult block and I have points in places that aren't cute.  My BFF called me "Link", from Zelda, the first time I pulled the hood up.  Having some experience with this yarn though and that the piece isn't being judged, I didn't fret about it.  After some wearing the points won't be as obvious.  The yarn came out so soft, as it always does.  This is going to be a wonderful piece to wear, possibly through the winter this year.  I don't think we are going to get much snow or very cold, but we'll see.


These post blocking pictures were taken outside of the Denver Museum of Nature and Science by my BFF.  He tolerates my fiber so well.  Honestly it's more than that, he encourages it too and benefits from it on occasion.  BTW we had fun at the museum too.


After wearing it a couple of days I can already see the sleeve edges straightening out a bit and have decided I need to add pockets, I will do that this week and post a new picture in the post on October 1st.  I will then cover how I did the pockets in detail with pictures in the next crochet post.
The only other crochet item I have been working on as of late is a poncho for BBF's niece.  She will be 10 in October, but this poncho is for Christmas.  Her birthday present will be a stuffed unicorn.  The poncho is made 100% acrylic yarn.  As I am allergic, I work on it for about an hour a day.  Any more than that and I have to take meds that make me sleepy.  I chose acrylic because even though she is a girl she is harder on things still, not so girly.  She likes dolls, horses and fantasy so I think this poncho will be great for her.
It is a very simple pattern.  Find Pattern here I gathered my yarn and got started.  Later that night as I lie in bed I was thinking about it and couldn't figure out why the pattern called for so much yarn...  Then about 2am I realized.  "I'll bet i need to hold the yarn double."  I checked that morning and sure enough, I had missed that line of the directions.  So a ripping I went.  I am using worsted weight yarn as it calls for but am using a larger hook; an "N" 9mm, which I don't need  license to carry.  Sorry I couldn't resist.  So far so good.  I have front and back finished, stitched together and have worked single crochets around the entire edge.  I will start the hood tonight.  It is being worked in her favorite color, purple.  Link

Not crochet related but still yarn related, I posted a new pattern to Ravelry last week.  They are knitted finger-less mitts.  Worked in a fall color way with some owls and lace they are perfect for this time of year.  New design  Planning the release of another design this weekend, it is for sleeves that you can put on with any shirt to be just a bit warmer.
My next post is about spinning, mostly what I have planned for this year's Spinzilla, I am on team Spin-Off, so stay tuned.  Until then happy stitching everyone!

Monday, September 17, 2018

Follow the Directions

Welcome to weaving for September!
I haven't been weaving for very long.  I received my first loom for my birthday 2 years ago.  It is a Schacht Cricket ridged heddle loom, the 15" wide one.  My husband bought it for me.

I quickly got started after I returned from an unexpected trip to Kansas.  I started with the yarn and scarf pattern that came with the loom.  I learned to warp the loom, load a shuttle and beat the weft.  An entire new language to learn and I loved every minute of it.  I did everything the directions asked, without questioning.  I had no one to question, I knew no other weavers at the time.  I rolled waxed paper with the warp and tied the ends to the apron bars just as directed.  The scarf i made from that warp is definitely a first piece but turned out nice enough. One

 If I knew no other weavers, then why did I start weaving?  Because I follow Franklin Habit on Instagram and read his blog regularly.  He wove a hound's-tooth scarf and said it was easy, so I had to do it too.
That was my second weaving project.  Franklin goes through how to pick out yarn for this project in his blog post How to....  I did that   I ended up choosing a pink and a purple in Cascade 220 superwash in worsted weight.  I followed the easy pattern, using 2 colors on 2 different shuttles and guess what?!?  It worked!!!  I was so excited and I loved the finished piece, Mom did too.  Once again I followed the directions on warping and all from the booklet and added what Franklin said to do. Hounds tooth

Some time passed, I warp the loom again for a dish towel.  A much shorter project so I just sit and cut each warp thread individually and then place them.  I did tie them properly, they weren't truly long enough however for the project.  I loaded a shuttle any way and took it with me.  It was a demo for VBS that summer.  We were doing a medieval theme and one of the topics was tapestries, so...  Yeah you get it.  It worked fine for the demo.  I ran out of warp way before the project was finished and it all just sat and sat and sat some more.
The end of that same summer I was doing a spinning demo at the Arapahoe County Fair.  A retired couple came up and asked if I weave.  I said "I am learning and have a small loom at home."  They said "Wonderful.  How would like to have a 4 harness floor loom?"  "That would be great, I even have the space."  I replied.  "Excellent.  Let me give you my number, you can come and pick it up and it's yours."

So I did.  That was over a year ago.  I am still somewhat intimidated by it.  I have met 2 weavers now though.  One has been doing 4 harness for a while and the other is just a bit ahead of me and warped her 4 harness for the first time just last month.
I still like my ridged heddle.  With confidence this time, I put my 3rd warp on the loom.  A larger scarf.  The pattern was in a goodie bag Yarn Fest 2018.  Pattern I decided to use some hand spun yarn that I had.  The yarn is the fine wool and yak blend that I spoke of in my spinning installment for this month Yarn.  I won't go in to a lot of detail here because of that.  The yarn was a 2 ply.  Some thinner and some thicker; from a light sock to a nice DK.  One of the strands was variegated and the other strand was either rose or forest.  The different weights of yarn didn't make much difference in the overall finished piece.

I measured the warp properly this time, by the book.  When I went to roll the waxed paper in, I found out I didn't have enough, but I rolled up the warp any way.  BIG MISTAKE!  I now FULLY understand the importance of the paper between the warp layers and I won't be making that mistake again.  I went ahead and finished the scarf.  It could have come out so much better.  There is a lot of color changing in this pattern.  No problem as long as I can carry the color, but sometimes that was too far and I just cut it.  I left an end hanging, not ever having read or asked how to deal with ends, just thinking that they will be taken care of in the fulling process.  They weren't.
Carry the yarn did work out though.  This was something I just did by instinct.  When I was finished with a color, I set its shuttle aside and picked up the next one.  When I got to a pick that was one the same side as the color being carried, I made sure to wrap the weft yarn around the yarn being carried before I did the next pick.  This made the yarn get carried up the side of the scarf.  This worked out nicely for about 4-6 picks on one side.  If it was farther than that, I would break the yarn off and start again. Finished Scarf
I have since read about how to do ends properly and am going to the store this week to get waxed paper.  My goal is to warp on some kitchen towels to match some of the dishcloths I have knit this year.
I love weaving and will keep trying new things.  Next month I hope to have a dish towel or 2 to show and maybe some card weaving adventures too!

Monday, September 10, 2018

To the Left to the Right to the Chart

    I am a left handed knitter.  A true left handed knitter.  This used to be a HUGE problem.  Now it is something that I am aware of and only occasionally causes minor set backs.  I am a left handed knitter because I was first a right handed crocheter.  I had to teach my self to knit, because no one else in my family did and I didn't yet know what a yarn store was so...  I found a book at Hobby Lobby that teaches crochet, knitting, tatting and embroidery.  I started with the right handed directions and just couldn't get the yarn to cooperate in my right hand, so I turned the page and the yarn was tensioned on the left hand, like when I crochet!  Yea!

These instructions, unbeknownst to me were true left handed knitter instructions.  I started knitting baby clothes and blankets.  All is well.  I found a local knitting group to get help when I messed up and slowly learned how to correct my mistakes and that there is more than one way to cast on.  I learned to yo properly and then work it correctly on the return row, all was going well, until...
The "KISS" dishcloth.  During this time I had taught my mom to knit, true left handed as well.  She found a knitting community on line as she worked full time and couldn't go to the community group I attended.  One was a weekly dishcloth.  I really liked this "KISS" dishcloth and so I made it.  Can you guess what happened?  The word was backwards!  I was so surprised and confused.  Perfectly backwards.  How in the world did I manage that?  I moved on and avoided things with words.  Most pictures were find because if they turn out backwards it's usually okay.
A yarn store opened not too far from the house and they were offering a lace knitting class.  I was interested in lace and so I signed up.  When I arrived we were handed charts.  I had never seen a knitting chart before and was interested.  This could be faster than all the letters and numbers. Will the leftiness be an issue?  I followed the chart exactly as the instructor told us to.  Stitching from the number to the left on the public side and from the number to the right on the return.  When we returned two weeks later to finish our fichu, small shawl, mine looked just like everyone else's!  I was excited but also confused.  I asked the instructor why "when I knit opposite of everyone does mine look the same?"  I explained about the "KISS" cloth and she was at a total loss and couldn't help.
Now I was on a mission to learn more lace, as I loved it, but I needed to know why it worked.  I found a group online that was lace knitters and they were just about to to start a new KAL.  It was a fairly basic piece and one motif would be released each week.  This would give me the opportunity I needed to experiment.  That's exactly what I did.  My finished piece can be viewed here.  I refer to this piece as my knitting identity crisis.  I learned so much.  I am still "poor thing" a true left handed knitter.  I just work everything the opposite of what it should be.  Those charts, I start on the side without the number and work towards it.  If it is written I choose if I should chart it and then work it or is it symmetrical?  If it is symmetrical then I can work it as written.  That's why that first little lace shawl worked out, it was a symmetrical pattern.  I can now decrease, increase and cable correctly.  It has been well worth the effort.  I have learned to continental knit as well as Portuguese knit.  I can knit right handed it is just very slow; helpful for teaching though.
For the purpose of this blog post I true left hand knitted a dishcloth with a picture of a cowboy boot on it.  I then knitted the same dishcloth, from the exact same directions Portuguese style, right handed.  You see the results below.

If this pattern had been charted to begin with they would have both come out facing the same direction and the mistakes I found in the written pattern would have also been caught before publishing.  It would also all fit on one page instead of two.
Charts are becoming ever more popular for knitters to use.  Don't be afraid of them, they can be your friend.  As with anything it will take a little time and effort.  I know that charts are not practical for every pattern but they are helpful in most patterns, even if it is just showing the stitch pattern.  In a garment where there is a lot of increasing or decreasing, the making of a chart can be difficult and the reading of that chart is slow as well.
I recently knit these mitts from Hunter Hammersen.  Purportedly. pattern here

I enjoyed them very much and will make them again.  I worked them left handed and the twists of my over lay are the opposite direction of hers.  The increasing in the palm is worked differently for each hand so that the mitt is only for wither the left or the right.  I follow the directions for the right hand and that is my left hand mitt and vice versa.  Like I said some trial and error but not bad.

This tiny lace doily was knit from written instructions, but I knew from the pictures that it was a symmetrical pattern.  The only issue is when the pattern said to move one stitch from the left to the right at the beginning of a round, I did it the opposite direction at the end of the round.  Then worked the crocheted bind off right handed.
I am figuring that I was supposed to be left handed in life, I am not.  When I pick up a new skill that I have never done before, it is most often done left handed.  I taught my mom and my sister to knit.  They are also both true left handed knitters.  My mom works mostly with charts and makes lots of socks.  My sister doesn't often knit any more as she homes schools three young children.  I have now taught my daughter to knit, with whom I was pregnant when I learned to knit.  She is a lefty in life, who knits right handed continental and crochets left handed, go figure.  I have come a long way in the last fourteen years, since I first learned to knit.  The group I went to for help, I now help them.  It has come full circle.  Knitting is a skill that can be as complicated or as simple as you'd like.  I enjoy working with multiple charts, tiny needles and fine thread to make a complicated lace piece, but larger needles, fat yarn and garter stitch have their place too.  How ever you knit, enjoy it!

Tuesday, September 4, 2018

One Hump or Two?


Welcome to my first monthly segment.  My goal is to put up a new post each Monday, with the following schedule.  The first Monday of each month will focus on spinning, the second on knitting, the third on weaving and the fourth on crocheting.  The months that there are five Mondays the fifth Monday will be about dying.
This week is about spinning and the fiber in the spot light this month is camel.  I have worked with camel only in a blend.  My first was with merino, then silk and most recently with "fine wool",  That was all the package said.
    The first two blends were 50/50 and the one with fine wool was 84/16, with camel being the lower.  I spun the merino and silk blends on a low whorl 19g suspended spindle.  I spun the fine wool blend on my 1978 Ashford Traditional.  Both tools worked well for the yarns I spun.
I bought both rovings at a store in Black Forest that is now closed, called Table Rock Llamas.  Both of the rovings were natural color.  Even though I bought the same number of ounces of each roving, I didn't get the same number of yards and had some of the silk blend left over.  I'm not sure why this is as I should have run out of the silk blend first because silk weighs heavier and should have made less yardage.  The merino and silk blends were plied together.  They are 24 wpi as a 2 ply yarn and the singles are 32 wpi.


The fine wool blend was plied with another fine wool yarn from the same vendor, The Natural Twist.  I had two different colors of this fiber, Guinevere which is a shade of rose and Merlin which is a shade of forest green; the name of the fiber is Camelot.  I love it.  The single of the Camelot was 30 wpi and the single of the fine wool was 36 wpi.  Plied together they were 20 wpi.  I used these yarns to weave a plaid scarf for me to wear this coming winter, look for more on the scarf in my weaving installment coming in a couple weeks.

There are two different kinds of camels, one hump, Dromedary and two humps, Bactrian.  Dromedary camels live mostly in hotter regions in northern Africa and the Middle East, because of this they do not produce as much fiber as the Bactrian camel.  Dromedary camels have one hump that stores fat, not water, that they can use to survive the harsh desert life they live.  They can go for extended periods of time without though.  Some cultures keep these camels for milk, meat, transportation and fiber.  They can produce about 7 pounds of down a year if the weather permits.  Bactrian camels live wild in Gobi desert and can drink salt water.  Their domestic counter parts cannot.  These camels are where most spinning camel fiber comes from.  They live in a colder area and produce more down.  They are also used for transportation.  The wild Bactrians are endangered and the Chinese government is trying to fix that.
Camels have five coats.  The fine one that we really enjoy spinning is the down under coat that keeps them warm.  The outer four coats keep the sun and dirt out.  These coats can be used for more utilitarian applications such as rugs and yurt covers or woven for tie downs and leads.  The down coat is shed once a year by the animal and can be collected.  This may yield a fleece weighing from 5-15 pounds, depending on the size of the animal.  The staple length of this fiber is from 1-5" and has a micron count of 19-24 for the adults and the babies can be as fine as 16 microns.
Camel down takes dye well, though I haven't dyed any personally, I have seen it in many different color colors.  It doesn't felt easily however and must be blended to be felted.

I have also been trying to finish up some fiber that I started spinning during Spinzilla last year.  It is from Ancient Treasures Alpacas in Arvada, Colorado.  It is 80% huacaya alpaca and 20% tussah silk.  It takes a bit of playing with to get it going, but then it's like butter.  It also likes to fly away in this dry climate and I have found it sticking to everything.  I have 4oz total.  I will spin two bobbins with 2oz each, but I haven't decided if I want to ply them together or ply it with a 50/50 yak/silk blend.  I would need more yak blend if so.  I bought the yak/silk blend from Blazing Star Alpacas.  Their fiber shop is in the back of a vacuum store in Englewood, Colorado, while their alpacas are boarded at a ranch in Elizabeth, Colorado.  The yak/silk blend is from Ashland Bay.  I am spinning both of these fibers on my 1978 Ashford Traditional replica using an 18:1 ratio.


I have been doing demos at the DeLaney farm in Aurora, Colorado lately,  I have been taking my original 1978 Ashford Traditional wheel and to show spinning with wool.  I am using a 9:1 ratio and spinning a bit thicker.  I also bring a low whorl suspended spindle, the same one I spun the camel blends on, and am spinning some BFL from Greenwood fiber works in the meteor color way.


    I spin each Sunday before church starts.  I use a tiny 9g Turkish spindle my husband made and some green fiber from Redfish dyeworks.  It is a 50/50 merino/silk blend that I have been spinning on for quite sometime...  I do this while walking around and talking to people.  It is a very small church so this is easy to do.  It is also a great conversation starter for people of all ages, as I would otherwise be shy and really have to force myself to talk to others.


I haven't been working on any new skills really.  Just trying to keep my fiber consistency and drafting the same.  I recently was asked to spin a 2 ply DK weight yarn.  I knew this was going to take some practice and figuring out because it is not my default spin and I have never done a 2 ply DK before.  I was given Shetland roving to craft this yarn.  I was spinning along and using my gauge got a single that should make a nice DK when plied.  I spun a bit more to make a ply back sample and it was great.  I hit the target.  I will say it did take about a week's worth of trail and error.
    I finally have enough spun to start the project.  I begin knitting and notice that the yarn is a bit thicker than I expected and while the gauge is close to what is listed in the pattern, it is much tighter knit.  I continue on, not sure why all this is or what is happening.  I finish the spinning and knitting nd turn the project in the beginning of this past April.  I finally realized what happened literally just last week!  I didn't have enough twist in my singles and when they were plied together they became fluffy.  Because I only checked the grist of my ply back samples I didn't know the yarn that I was plying wasn't the same until I started knitting.
    Lesson number one, a ply back sample is a good starting point, but for a final yarn, making an actual sample will give you A LOT more information.
Lesson number two, if you want a fluffier finished yarn, use less twist in the singles and they will fluff more when plied.
    Lesson number three, find another spinner who had been doing it longer than you and ask their thoughts when you are getting unexpected results.  I didn't do this.  I know very few other spinners and most of them I have taught.  The only reason this finally all fell into place is because of the Sheep to Shawl competition I was part of in June and because I sit around think too much.  I knew I was having trouble getting enough twist for the Sheep to Shawl team because we were using wpi and twist angle.  I won't even pretend to understand twist angle, but I learned enough to use it for this competition and that's what told me I needed more twist.  Last week I was thinking about that Shetland DK yarn again and it just suddenly all fell together.  I don't like to spin by the numbers so speak as we did for the competition.  I understand in that situation that you almost have to, to get a nice finished piece.  We did take first place.  I prefer to spin by the feel and use wpi to get me in the ball park.  I think though I need to spend some more time with twist angle and figure out how I can use it.